Listening to records is an incomparable thing. It’s magical to have that music physically there, and its supporting artwork in glorious 12.5”x12.5” for you to scrutinise. As someone starting their turntable journey, though, you might have discovered there’s a whole world of nerdy decision-making beneath this cool experiential exterior.
Perhaps the first proper engagement any of us have with this world (past investing in decent hi-fi equipment to begin with) is with shopping for a new turntable cartridge – which is something you should absolutely do, whether your record player’s a second-hand special or a brand-new consumer unit. But why should you? And how do you even install one?
Why replace your turntable cartridge?
Naturally, you’ll be in the market for a new cartridge if you’ve bought a turntable that doesn’t come with one, or inherited a turntable with a broken stylus. Even if you’ve bought an older player with an apparently-working cartridge, you should strongly consider replacing it anyway.
This is because styli can wear down over time, damaging your records and making them sound worse for the privilege. The cartridge itself could also be compromised, where old and ailing rubber knackers the stylus’ suspension. Rather than finding out the hard way, a new cartridge could be the path of least resistance to a refurbished device.
New turntables aren’t safe from the glowing potential of a new cartridge, either. The stock cartridges that come with turntables are often good, but not great – and spending a little money on an aftermarket cartridge could dramatically improve the quality of sound from your hi-fi.
Step 1: Find out which type of cartridge you need

First off, you need to identify what kind of cartridge your turntable takes – or if you can replace its cartridge at all. Many entry-level and suitcase-style turntables have integrated cartridges which can’t be replaced, though some of these will enable you to swap styli (such as the Audio Technica LP70xBT, which uses Audio-Technica’s own replaceable VM-series styli with an integrated cartridge).
Outside of these, there are three conventional standards for cartridge design, one of which will fit your turntable:
1/2", or standard mount
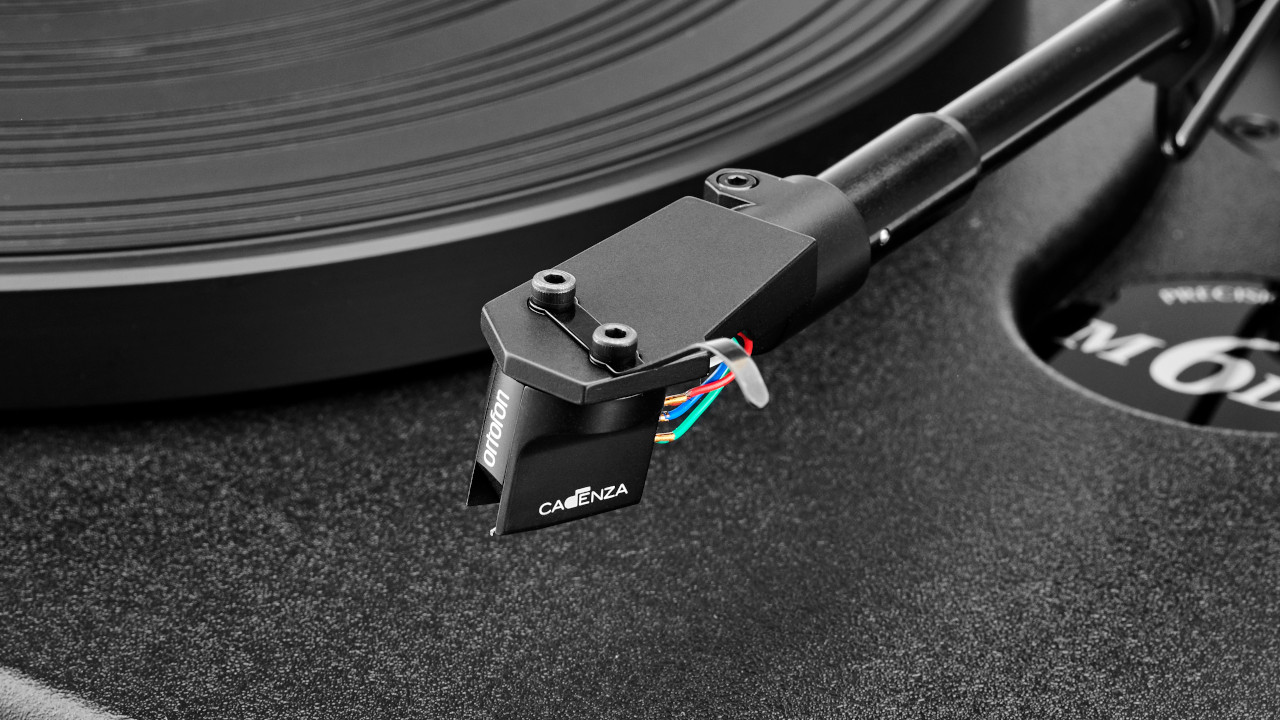
An overwhelming majority of turntables use 1/2", or standard-mount, cartridges. These are affixed to the tonearm’s headshell by two parallel screws, and electrically connected to wires via four large pins at the rear. The two screws are a dead giveaway – and if your turntable is currently cartridge-less, just look for two parallel slats in the headshell.
DJ cartridge
On decks designed for DJing, the tonearms are terminated by sockets as opposed to headshells, into which DJ cartridges are slotted then tightened into place. This makes for a more secure mechanical connection for both the cartridge and its contacts, providing much-needed stability against jogging, scratching or otherwise heavy-handed performance behaviour.
DJ cartridges are designed for heavier tracking forces and not so much for fidelity, so if you’re playing records casually at home, you might not be too keen on the results these give you. Luckily, you can also get an adapter for these kinds of tonearms, which mates with the socket and provides connectivity for standard mount cartridges.
P-mount
The P-mount cartridge is a rare type and a bit of an outlier; the P-mount design is mostly found on linear-tracking turntables, a briefly-popular 80s innovation which uses rods or tracks to move the cartridge in a perfectly straight line towards the centre of the record. This cartridge has four pins, like the standard mount, but thinner; these mate with a socket in a P-mount headshell, after which a single screw holds the assembly together. If your record player lacks a conventional pivoting tonearm, it may take a P-mount cart.
Step 2: Choose your replacement
Now you know which type of cartridge to get, you can start to drill down into the fun part: picking out the right cartridge for your setup. First, you’ll want to choose between moving magnet (MM) and moving coil (MC) cartridge types.
Moving magnet cartridges are generally cheaper and more accessible, with a relatively high signal output and sometimes even the capability to switch styli. MC cartridges are generally expensive and low-output, but offer vastly improved fidelity. If you’ve spent some good money on a good phono preamp and some primo speakers, you’ll benefit greatly from an MC cartridge – otherwise, an MM cartridge will absolutely fit the bill.
Next, the stylus. Different styli have different tip shapes, which confer their own unique benefits either in sound or in cost. If you’re upgrading you should consider ignoring conical or elliptical styli, and opt instead for something with a fine-line style tip; these are often better-sounding and better for the long-term health of your records. If you want to get a little more in-depth about any of this, you can read more here on why your choice of stylus and cartridge matters.
Step 3: Remove your old cartridge

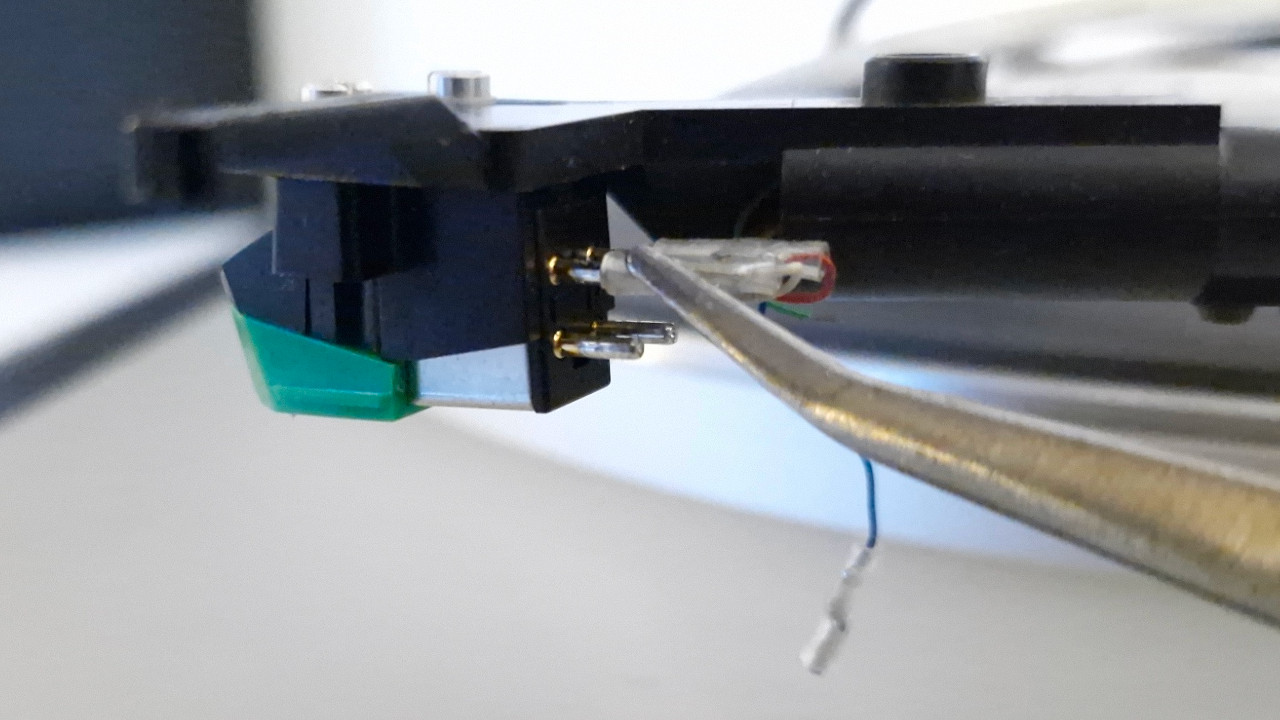
Cartridge chosen, purchased, and in your now-trembling hands, it’s time for the nerve-wracking bit. Steel yourself and locate some decent side-clasp tweezers, for your first job is to carefully remove the wires from the rear pins of your cartridge.
Do this while the cartridge is still secured to the tonearm, and you’ll have a less troublesome time of it. These wires are thin and brittle, and will be all the more brittle if your turntable’s birth-year starts with 19; make sure to only grasp the connector tip when you pull, and not the wires themselves.
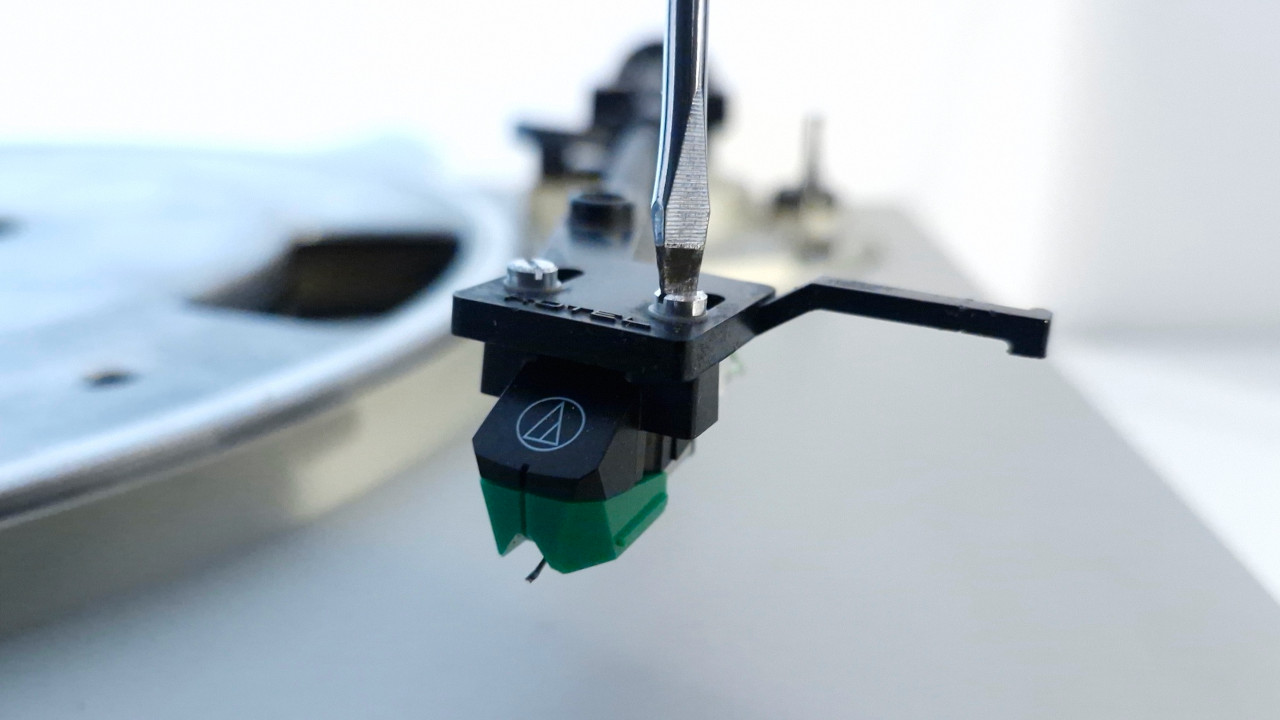
These four wires are two pairs, for the left and right channels respectively. Modern turntables are kind enough to colour-code them: red and green are right-channel positive and negative respectively, while white and blue are left-channel positive and negative. If your turntable doesn’t have colour-coded wires, make a note of which go where (and use masking tape to mark them if necessary). Cartridge de-wired, you can now remove the mounting screws holding it to the headshell.
For P-mount cartridges, the cartridge is socketed in place and held there by a single screw, which goes all the way through. Unscrew it completely, and then pull on the cartridge to remove.
For DJ cartridges, releasing the assembly is as simple as unscrewing the nut holding the assembly together, and lightly pulling.
Step 4: Connect your new cartridge
Now it’s time to seat your new cartridge – the steps for which are pretty much the inverse of the previous step. Hold your cartridge in place beneath the headshell, holes aligned with slats (and stylus still sheathed), and affix it with your screws. Cartridge in place, it’s time to painstakingly return the wires to their relative pins. Be patient, slow and smooth, and they should eventually seat themselves comfortably.
Both DJ cartridges and P-mount cartridges are as breathtakingly simple to install as they are to remove, both being a case of plugging then screwing back in place. However, DJ cartridges often come with rubber O-rings designed to slip over the shaft that meets the tonearm socket, and protect the socket from damage relating to over-tightening – so make sure you’ve slid these on before you screw them into place.
Step 5: Calibrate
Your cartridge is in and all that’s left to do is calibrate it. P-mount cartridges retain some popularity for their plug-and-play convinience, needing absolutely no calibration before they’re good to go; most turntables, though, need some attention before they’ll play the way you want them to.
In a nutshell, you’re calibrating the weight the stylus applies to the groove, and the alignment of the cartridge with respect to the groove. This really is a subject all of its own. In the meantime, you can pat yourself on the back for a tricksy job well done.
Related content
- Does vinyl really sound better than other formats?
- Cool vinyl record storage ideas
- How to store vinyl: Tips on keeping your collection in great condition
- Direct-drive vs belt-drive turntables: What's the difference?
- Best vinyl record cleaners: Keep your vinyl collection in prime condition

