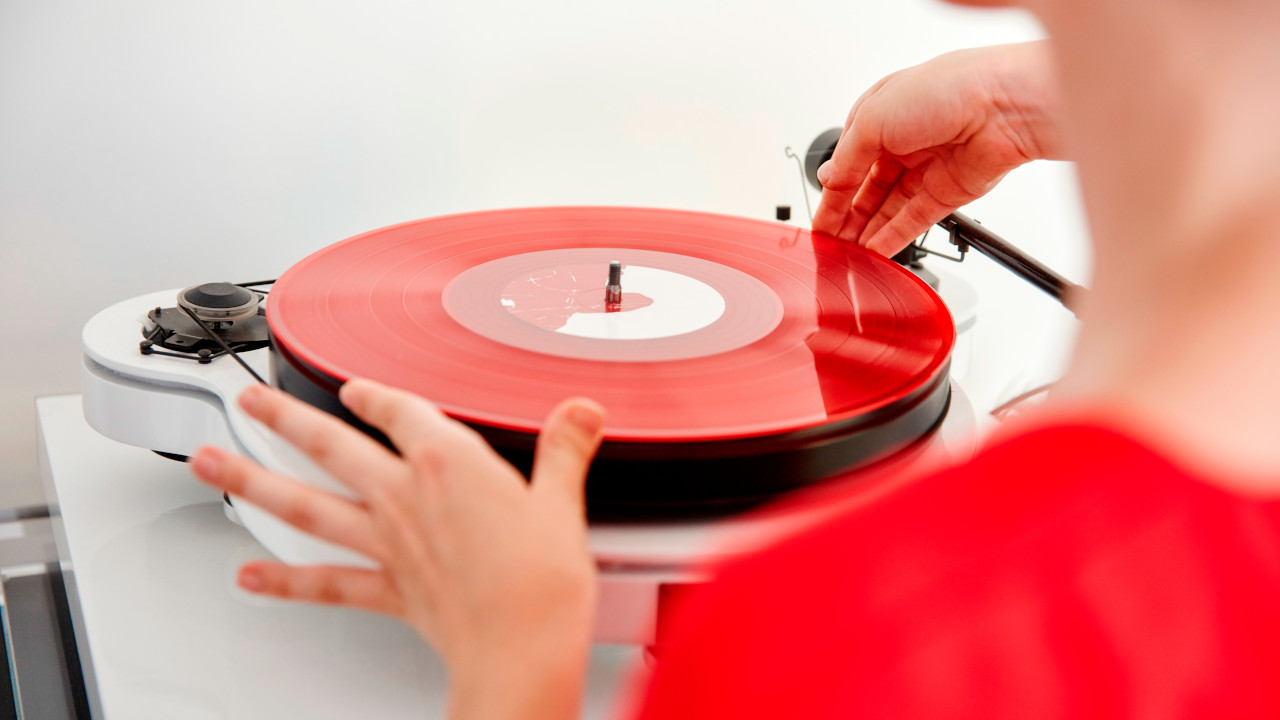
If you, like me, have come to amass a rather weighty collection of records then you’ll know the importance of having your record player properly set up. Unlike CDs or streaming services, turntables require care and attention to get them singing correctly.
If you’re new to vinyl it may seem daunting, but allow me to convince you otherwise. With a few basic, common-sense steps and an understanding of the way record players operate you’ll be up and running in no time at all. Let’s dig into how to set up a record player.
1. Location
Before I dive into the types of gear you’ll need and how to set it up properly, one of the most important things to establish is where your record player - and its additional equipment - will be situated in your home. This is important on a number of levels. First there can be a bit of fine-tuning required when you set up your record player for the first time and you don’t want to get everything calibrated and then decide you're going to have to move it to another spot. Find your place and then proceed to connect everything up and calibrate.
Second, record players don’t take kindly to being wobbled around or moved. Ideally, you want it to be somewhere out of the way of heavy foot traffic in your home, where accidental bangs and knocks are unlikely. Additionally, consider the placement of your speakers and how they’ll provide the best sound for the space in which they’re located.
Bookshelf speakers are great because they're small and unobtrusive, however higher-end systems may incorporate larger speakers so experiment with how best to place them in the space you have available.
2. Equipment
The gear you’ll use will vary according to your setup, but your record rig will most likely consist of a player, an amplifier and a set of speakers. There are many different variables at play even with just these three product groups but my advice here should be pretty universal.
Starting with the record player itself, you’ll have either opted for a basic plug-and-play version which requires little in the way of setup and can function straight out of the box, or you’ll perhaps have something a little more advanced which requires some extra TLC. The first thing to establish is whether your record deck has a phono amplifier built into it or if you’ll require external amplification.
If it has a dedicated phono amp output, it means the player amplifies the signal directly into your speakers, so it should be a little easier to set up. If not, you’ll need to connect the player to an amplifier before connecting your speakers to the amp’s outputs.
Usually with record players and phono amps, you’ll find the connections to be RCA, with a separate connection for both the left and right sides, although it’s not uncommon to find 3.5mm or ¼” jack connectivity as an alternative.
3. Calibrating your setup

There are two main elements you need to consider when setting up a record player, and this applies to all decks - whether you have a budget turntable or a pro record player. First is the cartridge which contains the record player’s all-important stylus, or needle. Sometimes during transit these can become decoupled, so take a second to ensure it fits snugly and doesn’t wobble around too much. You can also check that the stylus is perpendicular to the cartridge itself. Occasionally they can find themselves nudged to an angle which means it requires either delicate realignment or replacement.
Next, let's take a look at the tone arm. This is the long arm connected to the base that houses the cartridge and it's here that some problems can occur if it’s not properly set up. You’ll notice your cartridge has an adjustable weight at one end which balances the point of contact between the stylus and the record itself. Too heavy and the stylus digs into the record grooves which can result in distorted audio and potentially damage to your record. Too light and the arm won’t stay in position.
Additionally, you’ll find most record players have some form of anti-skate functionality. The simple premise here is that left to its own devices, the tone arm will naturally want to draw back in on itself so the anti-skate setting helps keep it in place while it’s being used.
Each record player will come with clear instructions on how to set each of these components up correctly so even if you’re the kind of person who normally skips the manual, I would advise to give it a cursory glance at the very least.
Conclusion
Despite how it may sound, record players are fundamentally simple devices which require a little bit of care and attention to get them sounding their best. People with far less technologically savvy than me have been using them for years, so by arming yourself with a bit of knowledge and a degree of respect for the setup process, you’ll be able to enjoy that warm, vintage tone for years to come.
Related guides
- 7 ways to make your vinyl sound better: Get the most from your set-up
- Here's our pick of the best Bluetooth turntables
- Best vinyl record storage: Keep your records safe and sound
- The 20 best classic rock albums to own on vinyl
- The best vinyl records to test your turntable
- Best vinyl record cleaners: keep your collection in prime condition
- Find the best portable record players: Turntables for the smallest spaces
- Best headphones for vinyl: Amazing headphones for your record player

